

Sometimes you may need to create a ticket on behalf of a customer — for example, when they call you directly, or when you want to start a new email thread from inside ThriveDesk.
The New Conversation button allows you to manually create a ticket and send it to the appropriate recipient.
Creating a New Ticket
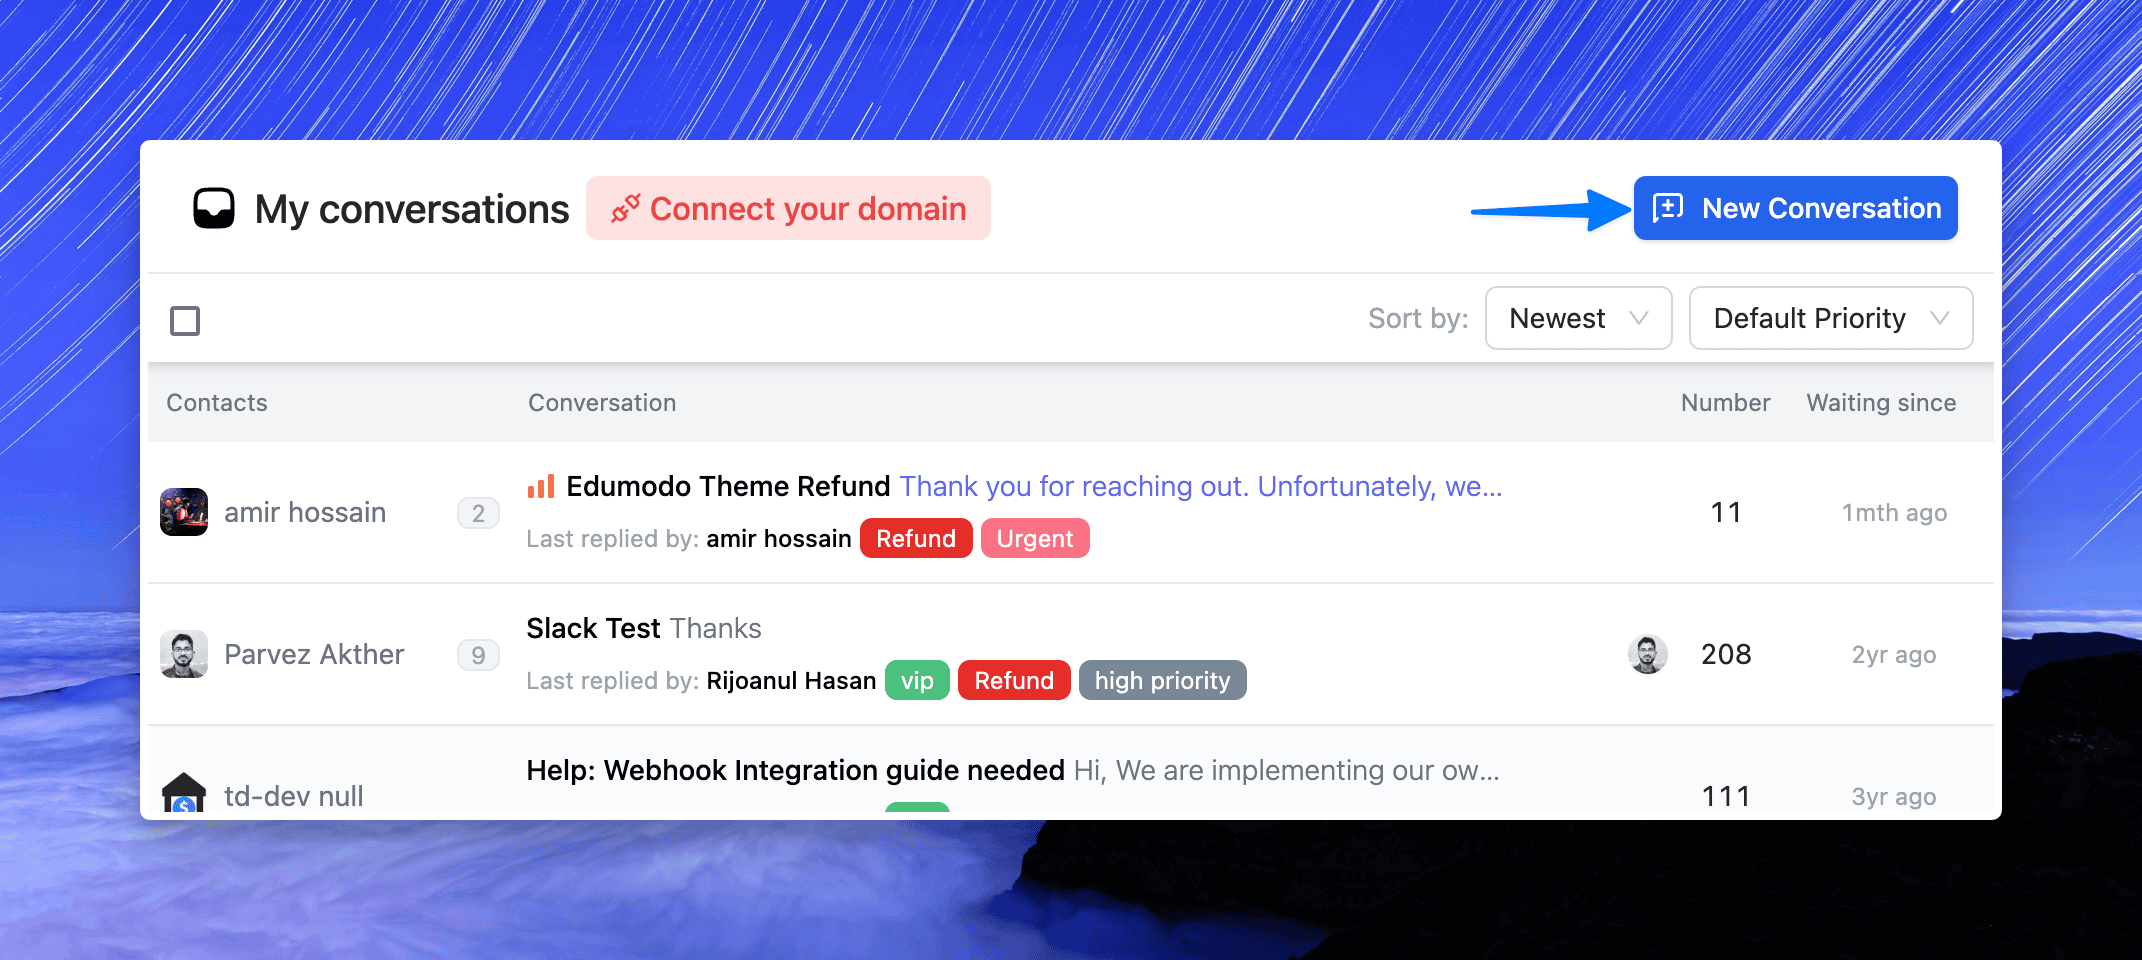
From the My Conversations view (or any inbox), click the New Conversation button in the top-right corner.
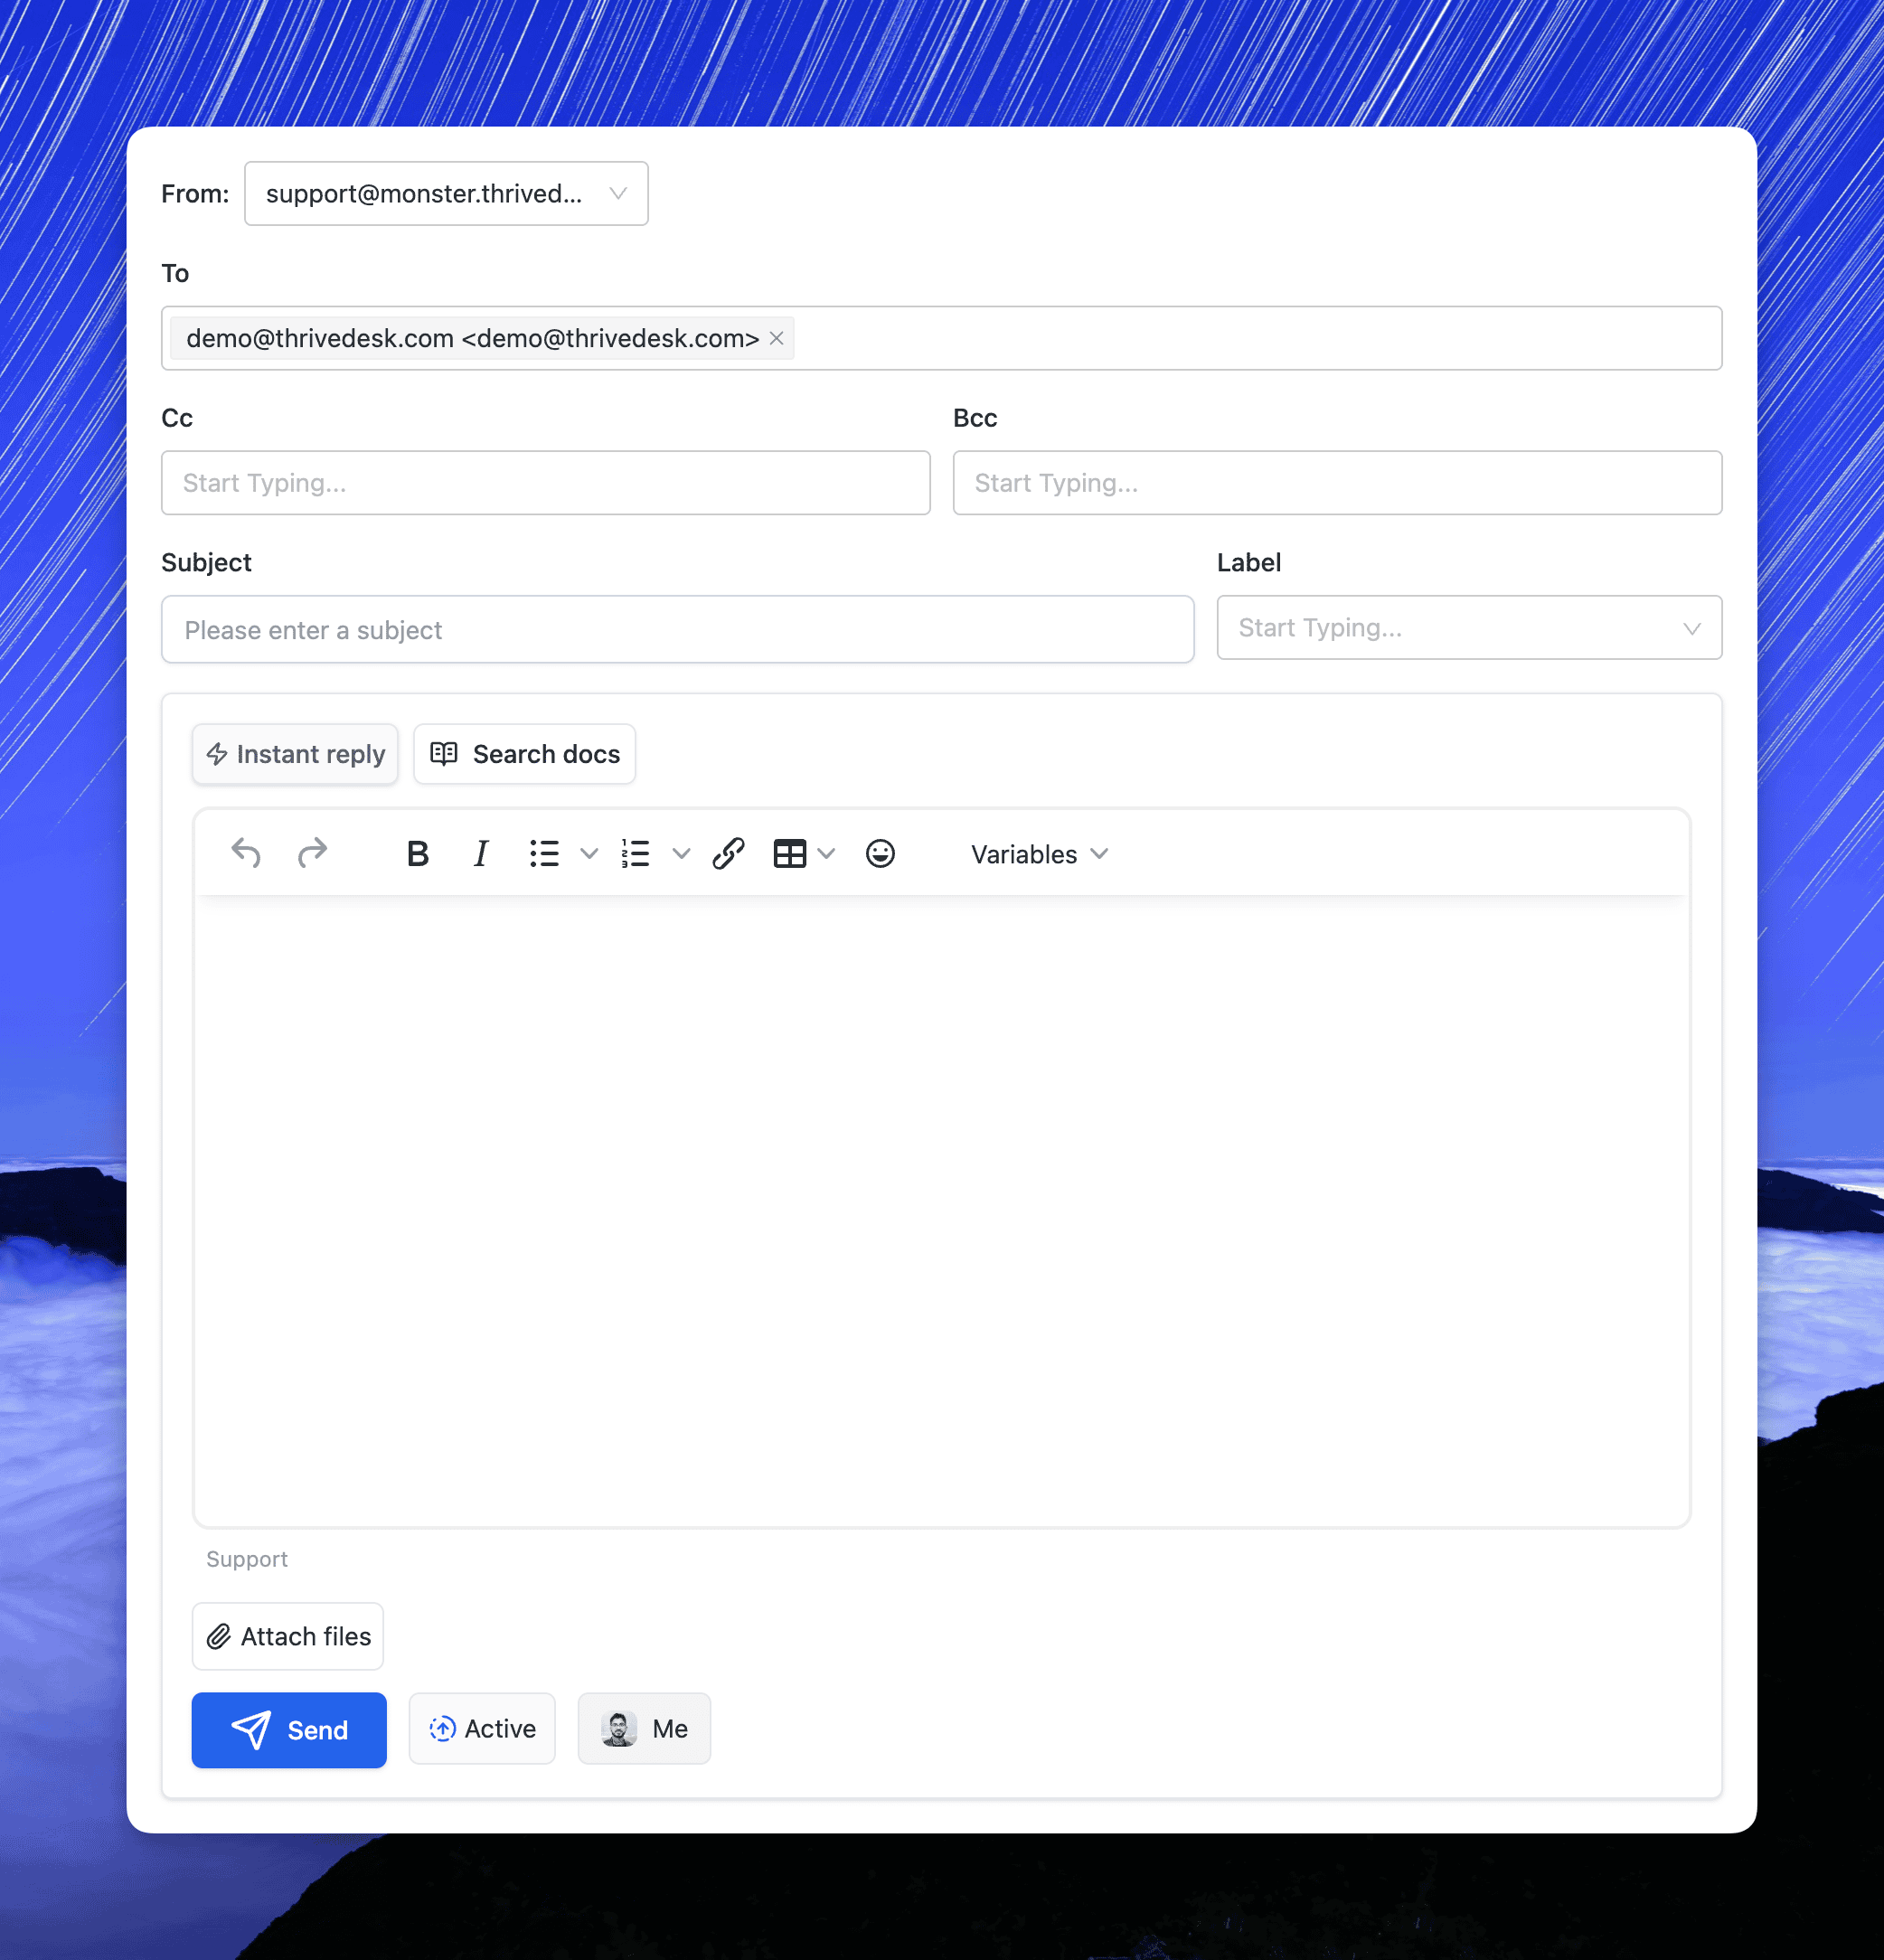
A new ticket form will open.
Ticket Form Fields
From – Select the mailbox (email address) you want to send the ticket from.
To – Enter the recipient’s email address. Press Enter after typing the address to confirm it. Multiple recipients can be added.
Cc / Bcc – Add additional recipients (Cc for visible, Bcc for hidden).
Subject – Enter the subject line of the ticket. This becomes the conversation title.
Label – Apply labels to categorize the ticket (e.g., Urgent, Refund, VIP).
Message Body – Compose the main content of your ticket. Use formatting, canned replies, or variables for personalization.
Attach files – Add documents, images, or other files as attachments.
Status – Choose the initial status (default is Active).
Assignee – Select who should handle the ticket. By default, it’s assigned to you.
Send button – Click Send to create and dispatch the ticket.
Troubleshooting
Email not sent: Ensure the recipient’s email address is confirmed by pressing Enter after typing it. If not confirmed, the system will not send the ticket.
Ticket appears blank to recipient: Verify that you added content in the Message Body before sending.
Attachment not delivered: Make sure the file size is within your email provider’s limits (commonly 20–25 MB).
Wrong sender address: Double-check the From field to ensure you selected the correct mailbox.
Ticket not visible to teammate: Confirm that the ticket was assigned to the correct inbox and teammate.
Best Practices
Always confirm email addresses before sending.
Use labels to make filtering and reporting easier.
Assign tickets right away to the correct teammate.
Include all relevant details when creating tickets on behalf of a customer