

Amazon WorkMail is a managed email and calendar service that offers strong security controls and support for desktop and mobile clients. This article will cover setting up email forwarders from Amazon WorkMail to ThriveDesk mailboxes.
This guide is for a Amazon WorkMail(aka business email), and covers forwarding all email that comes to that WorkMail mailbox to a single ThriveDesk mailbox.
We do not support @awsapps.com email address that WorkMail provide by default. You should have setup your own business email on Amazon WorkMail first.
How to forward emails from WorkMail to ThriveDesk
- First things first: Make sure you have followed the first steps in Connect Your Custom Address and you have your ThriveDesk Inbox Address ready.
- Click on the gear icon in the upper right-hand corner to open the Settings pages.

- Click Email rules in the left side navigation menu, then + New to start a New email rule.
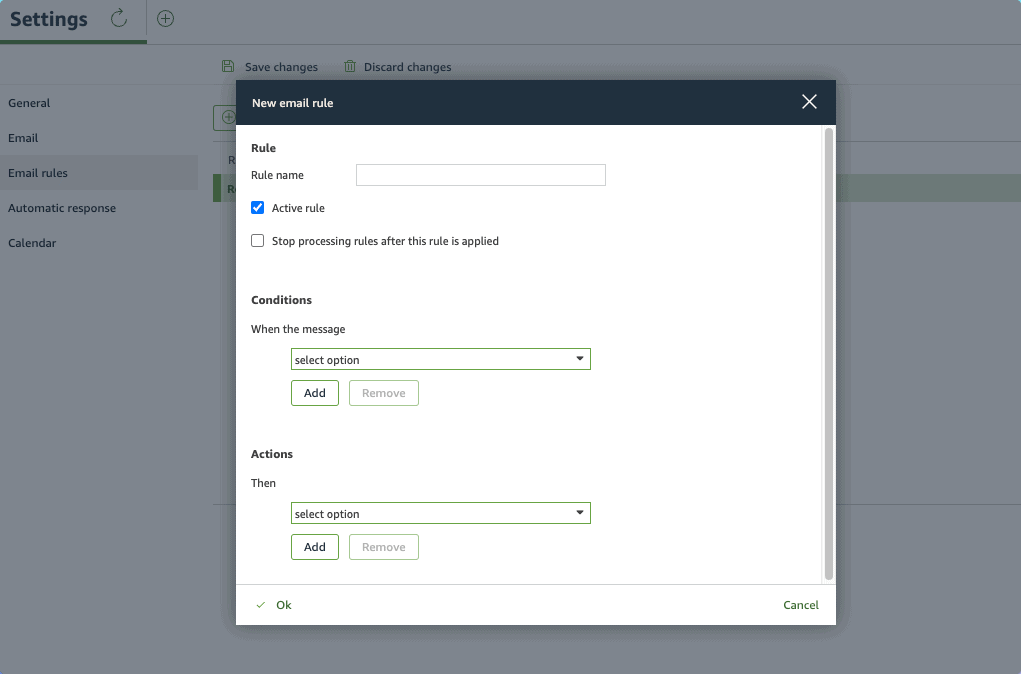
- Give your rule a name. Select is sent to... from the Conditions dropdown list, then click Select recipient(s) and select your Mailbox address from the Amazon WorkMail Global Address List. Click the To button at the bottom to populate your Mailbox address in the box, then click Ok.
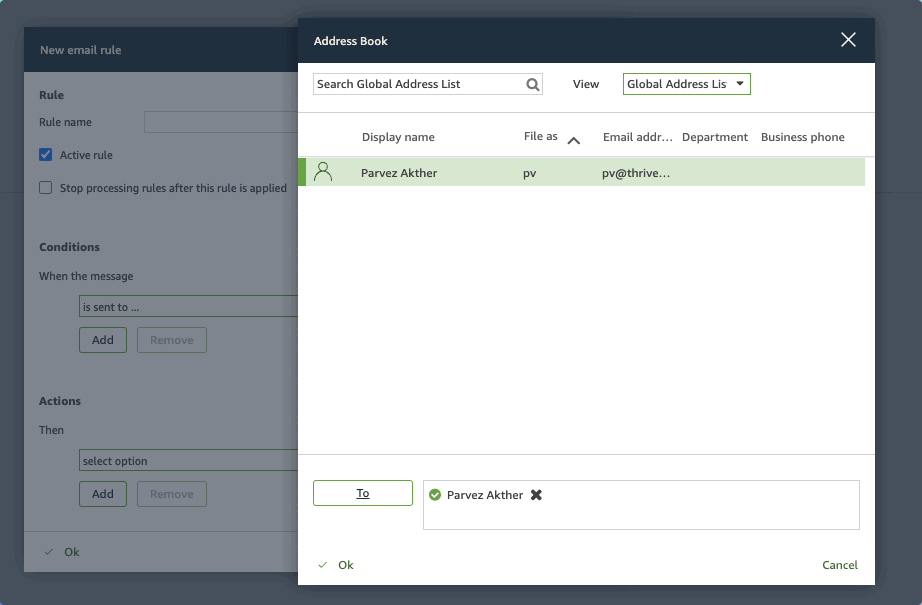
- Select Redirect the message to... from the Actions dropdown list, then click Select recipient(s) and paste in the ThriveDesk forwarding address. Click the To button for Amazon WorkMail to validate the address (you will see a green check mark appear before the forwarding address), then click Ok.

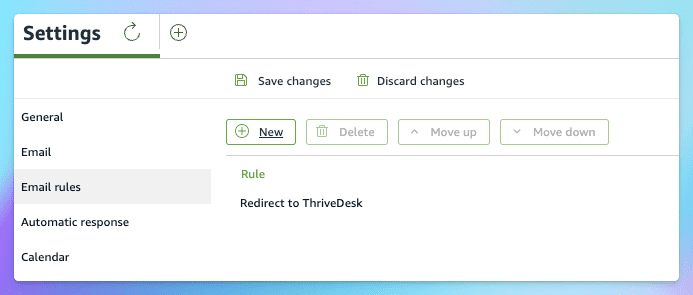
- Click Ok to close the Email rule window, then click Save changes to save your rule.
- Now head back to Inbox > Inbox Settings in ThirveDesk and click Verify Forwarder button to confirm the forwarding is set up.
That's it! You're set!
Next steps: Set up Return-Path and DKIM to allow ThriveDesk servers to send email on your behalf.
If you have any Automatic response setup on WorkMail, turn that OFF and enable Auto reply on ThriveDesk Inbox.