

How do I install smart app?
step 01: Navigate to smart app
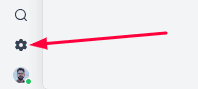
Click on settings in app navigation bar.
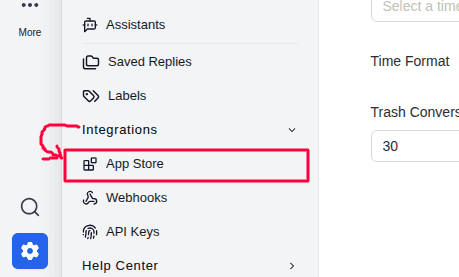
Go to "App store" which belongs to "Integrations" accordion
Either you can go to "Smart app" using shortcut:

Or you can navigate and select from apps list:
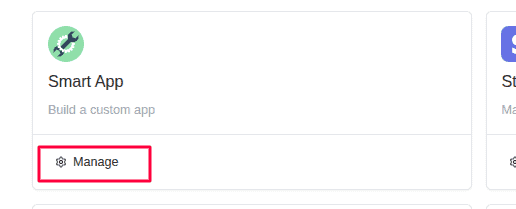
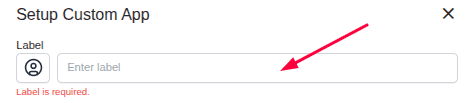
step 02: Installation
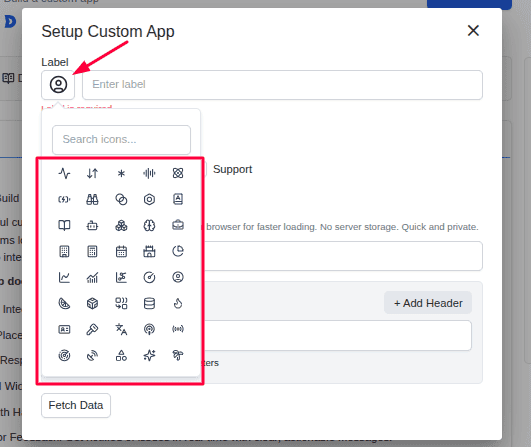
Set a label, it is the name of the integration.
Select an icon (optinal).
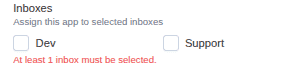
Select inboxes on which you want to install the integration.
Set data refetching time interval (very optional)

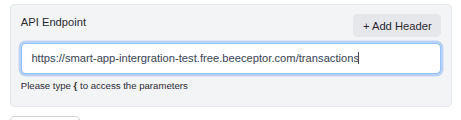
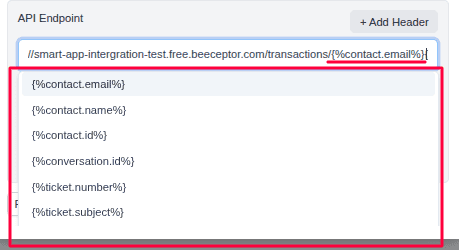
Fill in the API endpoint
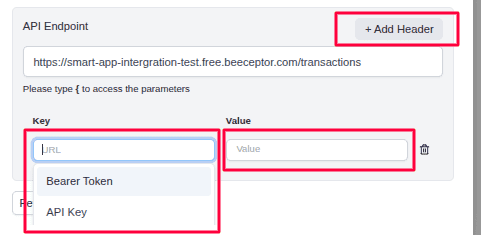
Add a header if needed (maybe optional). However, in most cases, you may need to set an authorization header (e.g., a Bearer Token).
Add dynamic parameter (optional). It will be replaced automatically with an actual value when a request is made by ThriveDesk. Type "{" to add parameter.
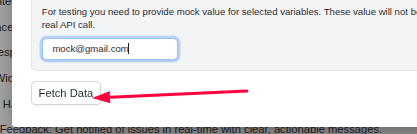
If any dynamic parameter is attached to the endpoint, then it is mandatory to add a mock value for testing the connection. You can use any known value that would work for your desired api connection's parameter.

Fetch the endpoint and check the connection.
Note: As we have successfully setup the connection, now, either you can install the app without specifying the builder page or before installing you can set the builder page. It's your choice. Here, we are installing it for now and in next step we will define the builder page.
Now, save the app

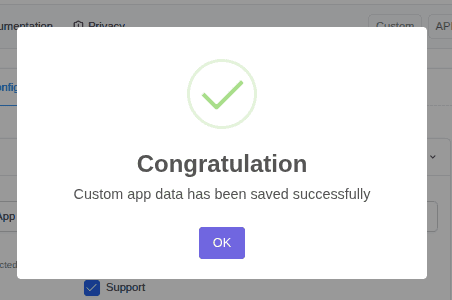
If it is successfully installed then you should see:
How do I select the desired data to show in the widget pannel?
or, How do I set up the builder page?
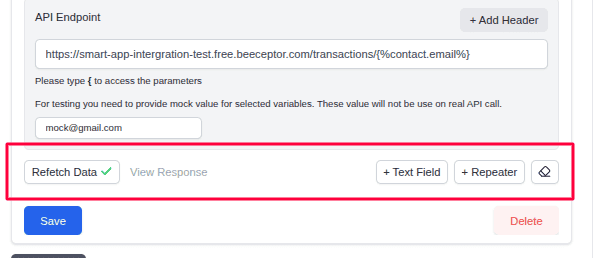
After a successful installation you should see a bunch of handy tools. As below:
Here,
"View Response" - you can see fetched API response on clicking it.
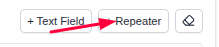
"Text Field" - it shows a normal text type data.
"Repeater" - it can loop a similiar type data or an array type data. It can have nested repeater fields.
"Clear Selections" - it clears all the currently existing fields.
Let's try them:
Text Field
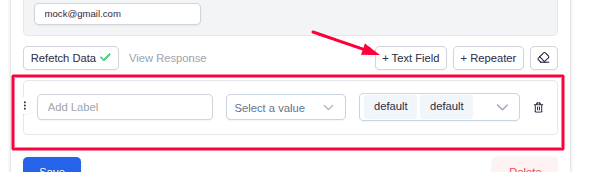
It has 3 options. From left to right:
1. Label (Simply you can type here as your wish or keep empty)
2. The value selector (what you want to see). Here you can select any value as need.
3. styling options Default Text style is black & default font is base (16px) size.
Repeater Field
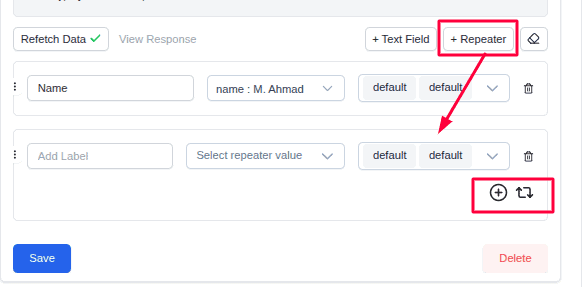
Every Repeater has 3 inline options and 2 sub options. From left to right:
Label same as Text field.
Selector, here you selects the data you want to loop through.
Styling exact same as Text field.
Sub options
Option to add text field directly
Or option to Repeat again
Example:
Let's assume 🤔 we have a data set of some transacttions as below :
{
  "id": "unique_user_id_123",
  "name": "M. Ahmad",
  "email": "user@example.com",
  "type": "purchase",
  "bought_products": ["Quix", "Thrivedesk", "Photoshop"],
  "transactions": [  // we want to show all the items of this transaction
    {
      "transaction_id": "tx1",
      "date": "2024-07-24",
      "amount": 20.00,
      "description": "Software License",
      "items": [
        { "name": "Avast Pro", "qty": 1, "price": 20 }
      ]
    },
    {
      "transaction_id": "tx2",
      "date": "2024-07-23",
      "amount": 10.00,
      "description": "Monthly Subscription",
      "items": [
        { "name": "TD Subscription", "qty": 1, "price": 10 }
      ]
    },
    {
      "transaction_id": "tx3",
      "date": "2024-07-22",
      "amount": 50.00,
      "description": "Hardware Purchase",
      "items": [
        { "name": "Keyboard", "qty": 1, "price": 25 },
        { "name": "Mouse", "qty": 1, "price": 25 }
      ]
    },
    {
      "transaction_id": "tx4",
      "date": "2024-07-21",
      "amount": 15.50,
      "description": "Service Fee",
      "items": []
    },
    {
      "transaction_id": "tx5",
      "date": "2024-07-20",
      "amount": 25.00,
      "description": "Product Renewal",
      "items": [
        { "name": "Photoshop License", "qty": 1, "price": 25 }
      ]
    }
  ]
}
We want to show all the items data at once. Then we will repeat the transactions first, and then repeat the items again to access the item properties.
Target Structure:
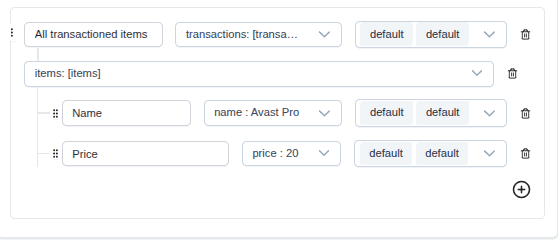
Process:
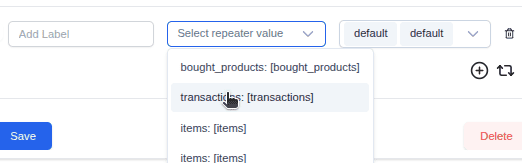
Step 1: Add main Repeater
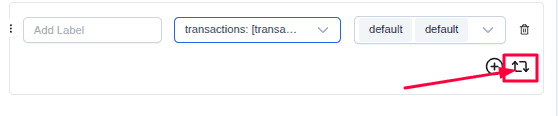
Step 2: Select transactions array in main repeater & add label
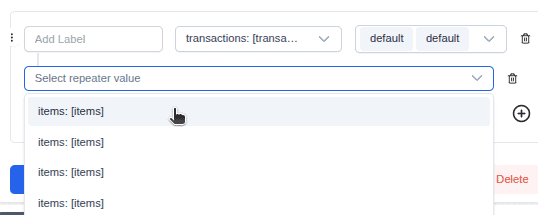
Step 3: Repeat again
Step 4: Select "Items" to repeat again (Here, we define the data structure of what we want to show — not the actual values. ThriveDesk automatically handles data display based on the structure).
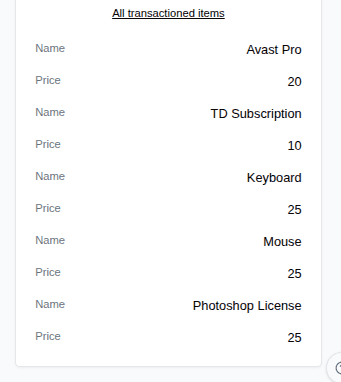
Step 5: Now add text fields and select your desired properties.
Output:
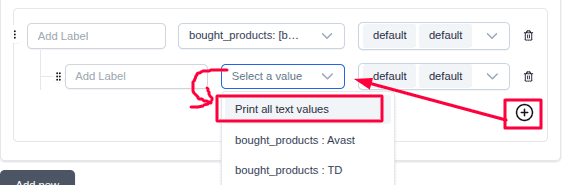
what is Print all text value option in repeater selection?
Let's assume from the previous data set we have an array (data lists) of product bought by that user. We want to show that. We can do that by simple selecting the print all text value option of repeater selector.
"bought_products": ["Quix", "Thrivedesk", "Photoshop"],Example:
Target Structure:
Process:
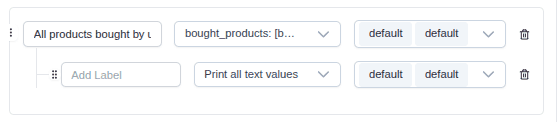
Step 1: Add a main Repeater field
Step 2: Select the bought_products array in repeater selector & give a label if want

Step 3: Add a Text Field & select Print all text value
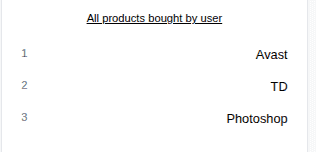
Output:
Extra features:
Drag & dropitems in builder page to change order. User must save after this change. Example:
Deleteany item in builder page. User must save after this change. Example:
Clear all selectionoption. It clears all the selected items in builder page. Example:
Note: you can add multiple smart app instances as you want.